

Everything You Need to Know About Date in JavaScript
Jul 05, 2019

Welcome to part 2 of GatsbyJS series. In this post, we’ll set up some common plugins/libraries that helps a lot for one Gatsby project successfully. Including:
This section demonstrates how we can integrate GatsbyJS with the most popular checker: Typescript.
Gatsby has a plugin resource page that we can find very useful plugins for our site with well-written documents. For example, in case we want to integrate Typescript into our project, install gatsby-plugin-typescript
yarn add gatsby-plugin-typescriptAnd Typescript, tslint dependencies as well
yarn add -D tslint tslint-config-prettier tslint-react typescriptInclude plugin to our gatsby-config.js file.
module.exports = {
  plugins: [
    `gatsby-plugin-typescript`,
  ],
}
gatsby-config.js is the place Gatsby engine will read all our project configurations. Gatsby can’t understand or can’t use one plugin if it’s only installed by package manager package.json file
In case packages don’t ship with Typescript definitions, we’ll need to manually install those type definitions, e.g for React.
yarn add -D @types/react @types/react-dom @types/nodeNow we’ll try to rename src/pages/index.js to src/pages/index.tsx and restart Gatsby server.
Because we’re using typescript, so let’s setup some basic rules with tslint configuration.
Create tslint.json at root folder of project:
{
  "defaultSeverity": "error",
  "extends": [
    "tslint:latest",
    "tslint-react",
    "tslint-config-prettier"
  ],
  "jsRules": {},
  "rules": {
    "interface-name": false,
    "semicolon": [
      true,
      "never"
    ],
    "member-access": [
      false
    ],
    "ordered-imports": [
      true
    ],
    "no-console": [
      false
    ],
    "no-var-requires": true,
    "quotemark": [
      true,
      "double",
      "jsx-double"
    ]
  },
  "rulesDirectory": []
}
Similarly, create tsconfig.json at root folder:
{
  "include": [
    "src/**/*"
  ],
  "compilerOptions": {
    "target": "esnext",
    "module": "commonjs",
    "lib": [
      "dom",
      "es2017"
    ],
    "allowJs": true,
    "checkJs": true,
    "jsx": "react",
    "strict": true,
    "esModuleInterop": true,
    "experimentalDecorators": true,
    "emitDecoratorMetadata": true,
    "noEmit": true,
    "skipLibCheck": true,
    "baseUrl": ".",
    "paths": {
      "@pages/*": [
        "src/pages/*"
      ],
      "@components/*": [
        "src/components/*"
      ],
      "@utils/*": [
        "src/utils/*"
      ],
      "@constants/*": [
        "src/constants/*"
      ],
      "@templates/*": [
        "src/templates/*"
      ],
    }
  }
}If you notice on our above example tsconfig.json, we’re using relative import. However, we have to setup gatsby-config.js as well in order to make relative import working.
Install small plugin names gatsby-plugin-alias-imports
yarn add gatsby-plugin-alias-importsAdd configuration to gatsby-config.js:
module.exports = {
  plugins: [
    `gatsby-plugin-typescript`,
    {
      resolve: 'gatsby-plugin-alias-imports',
      options: {
        alias: {
          "@src": "src",
          "@pages": "src/pages",
          "@components": "src/components",
          "@utils": "src/utils",
          "@constants": "src/constants",
          "@templates": "src/templates",
        },
        extensions: [],
      },
    },
  ],
}
The result we get is that instead of import SomethingComponent from '../../Something' we can import SomethingComponent from '@components/Something.
Styled-components helps me a lot when working with CSS in React project. I don’t need to bother about CSS name collision and can treat CSS style as React component as well. Sound great, right?
We’ll install styled-component for Gatsby by the following instruction from their official document:
yarn add gatsby-plugin-styled-components styled-components
yarn add -D @types/styled-components
Add styled-components to gatsby-config.js:
module.exports = {
plugins: [
// previous configurations
`gatsby-plugin-styled-components`,
],
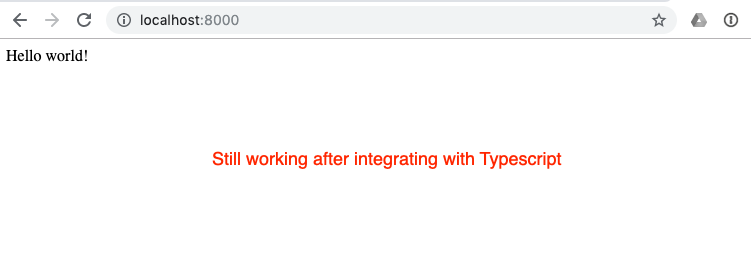
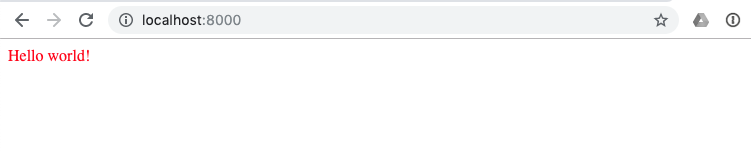
}Update src/pages/index.tsx content file to make sure our integration working correctly:
import React from 'react'
import styled from 'styled-components'

const StyledContainer = styled.div`
  color: red;
`

export default () => <StyledContainer>Hello world!</StyledContainer>
Check the result:
We’ll see typography.js is used in GatsbyJS project frequently. Typography is a complex system of interrelated styles. For me, it’s hard to take care too much about typography details in the beginning when building a blog. Thanks for Kyle A Mathews, the author of topography.js library. He defines typography collection (themes) that we can playground here first https://kyleamathews.github.io/typography.js/ in order to select a suitable typography type for our blog.
Maybe we can have another article to talk more about this library. In this series scope, we’ll go directly to how to use the library with Gatsby.
Now we’ll instally typography and gatsby-typography plugin, along with typography-theme-github as a theme for our blog.
yarn add typography gatsby-plugin-typography react-typography typography-theme-github
yarn add -D @types/typography
Create a new file src/utils/typography.js with the following content:
import Typography from 'typography'
import customTheme from 'typography-theme-github'

customTheme.overrideThemeStyles = () => {
  return {
    'a.gatsby-resp-image-link': {
      boxShadow: `none`,
    },
    'a': {
      color: `#222`,
    },
    'a:hover': {
      textDecoration: `none`,
    },
    'h1, h2, h3': {
      borderBottomStyle: `none`,
    },
  }
}

const typography = new Typography(customTheme)

// @ts-ignore
typography.overrideStyles = () => {
  return {
    body: {
      background: '#FFFFFF'
    }
  }
}

// Hot reload typography in development.
if (process.env.NODE_ENV !== `production`) {
  typography.injectStyles()
}

export default typography
export const rhythm = typography.rhythm
export const scale = typography.scale
Because of the plugin typography-theme-github doesn’t provide typescript definition, so we’ll add declare module manually for it.
Create a new file src/declarations.d.ts with this content:
declare module 'typography-theme-github'Next, we’ll add typography plugin to gatsby-config.js
module.exports = {
  plugins: [
    // previous configurations
    {
      resolve: `gatsby-plugin-typography`,
      options: {
        pathToConfigModule: `src/utils/typography.ts`,
      },
    },
  ],
}
Ok, we’ll restyle our home page component a bit in order to verify whether typography works correctly or not (restart Gatsby server if needed):
import React from 'react'
import styled from 'styled-components'

const StyledContainer = styled.div`
  color: red;
`

export default () => <StyledContainer>
  <h1>Title h1</h1>
  <h2>Title h2</h2>
  <p>Normal paragraph</p>
</StyledContainer>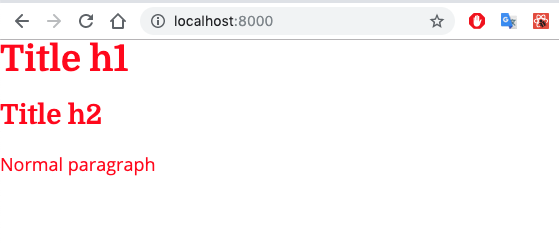
yarn add typeface-montserrat typeface-merriweatherCreate new file gatsby-browser.js at root folder and add content:
// custom typefaces
import "typeface-montserrat"
import "typeface-merriweather"The web app manifest allows users to add our site to their home screen on most mobile browsers. The manifest provides configuration and icons to the phone.
yarn add gatsby-plugin-manifestAdd manifest configuration to gatsby-config.js:
module.exports = {
  plugins: [
    // previous configurations
    {
      resolve: `gatsby-plugin-manifest`,
      options: {
        name: `Mr Leo`,
        short_name: `mrleo`,
        start_url: `/`,
        background_color: `#222`,
        theme_color: `#FFFFFF`,
        display: `minimal-ui`,
        icon: `static/icon.png`,
      },
    },
  ],
}
For the icon, let’s find a temporary icon for now. In this example, we’re using gatsby icon as default.
![]()
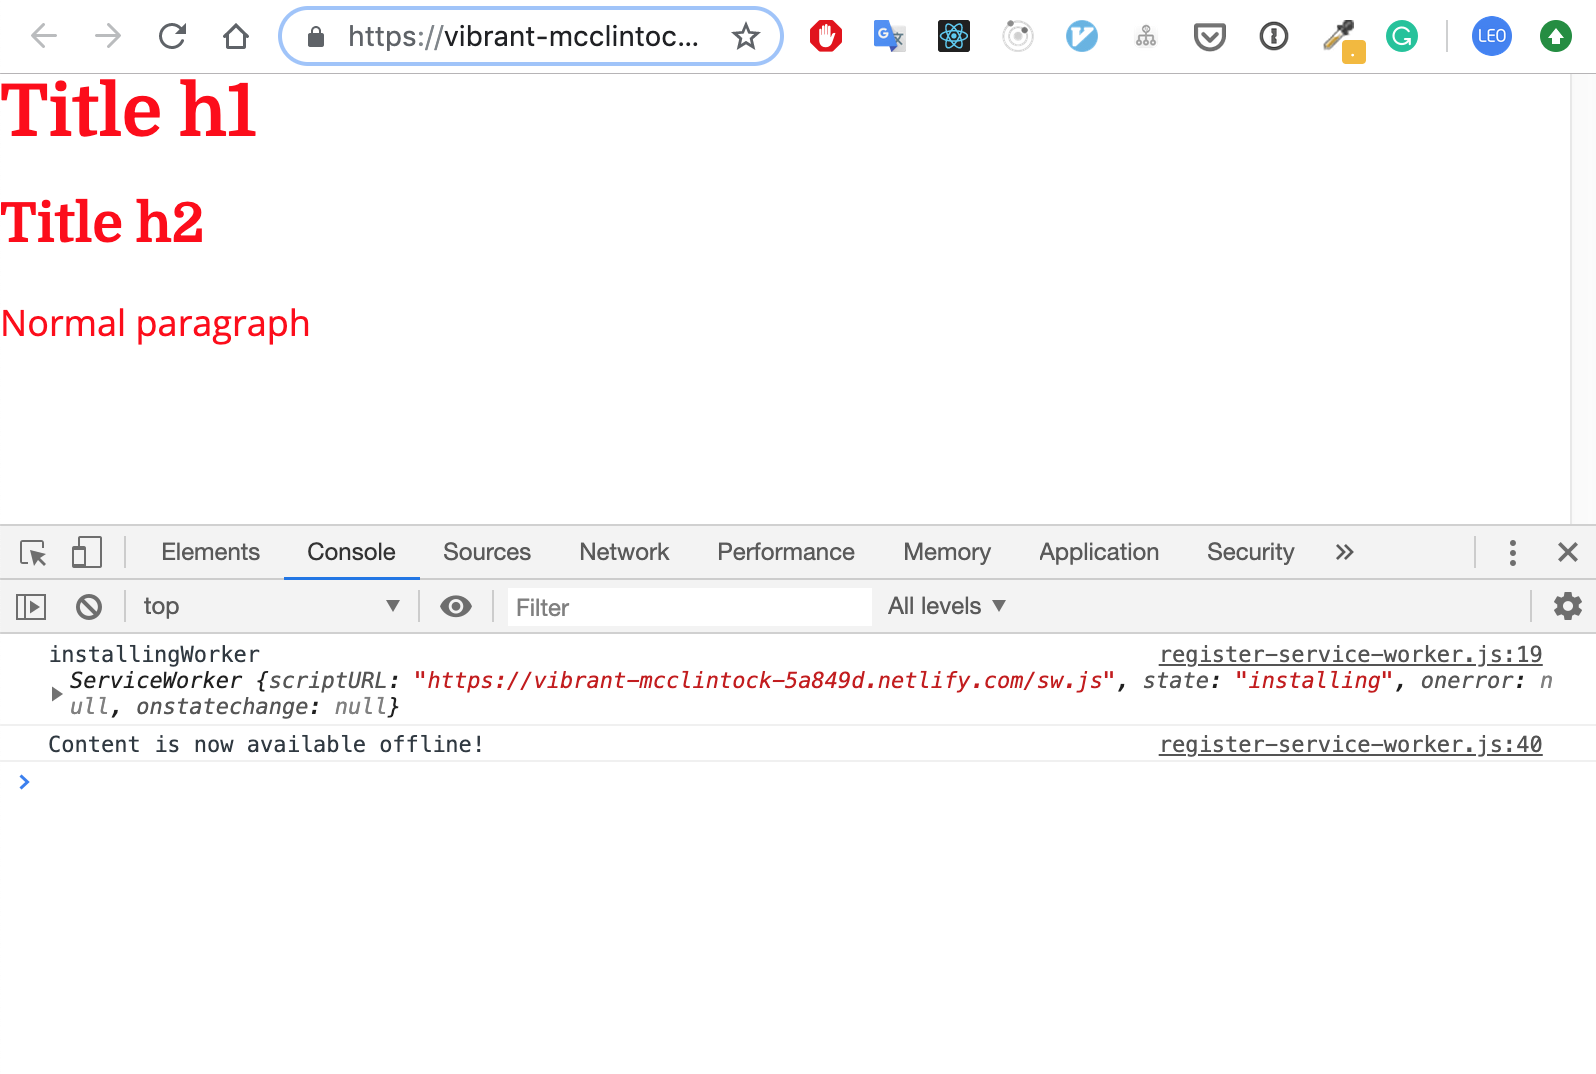
Adds drop-in support for making a Gatsby site work offline and more resistant to bad network connections. It creates a service worker for the site and loads the service worker into the client.
yarn add gatsby-plugin-offlineList this plugin into gatsby-config.js. However, please note that this plugin should be placed after gatsby-plugin-manifest so the manifest file can be included in the service worker:
module.exports = {
  plugins: [
    // previous configurations
    {
      resolve: `gatsby-plugin-manifest`,
      options: {
        name: `Mr Leo`,
        short_name: `mrleo`,
        start_url: `/`,
        background_color: `#222`,
        theme_color: `#FFFFFF`,
        display: `minimal-ui`,
        icon: `static/icon.png`,
      },
    },
    `gatsby-plugin-offline`,
  ],
}So far so good. We’ve done a lot of basic configuration for Gatsby project. Time to commit our code and push to master branch.
Waiting few minutes for Netlify help to deploy our site and check it again.
We’ll meet again in the next part to layout our blog with mocked data together.


